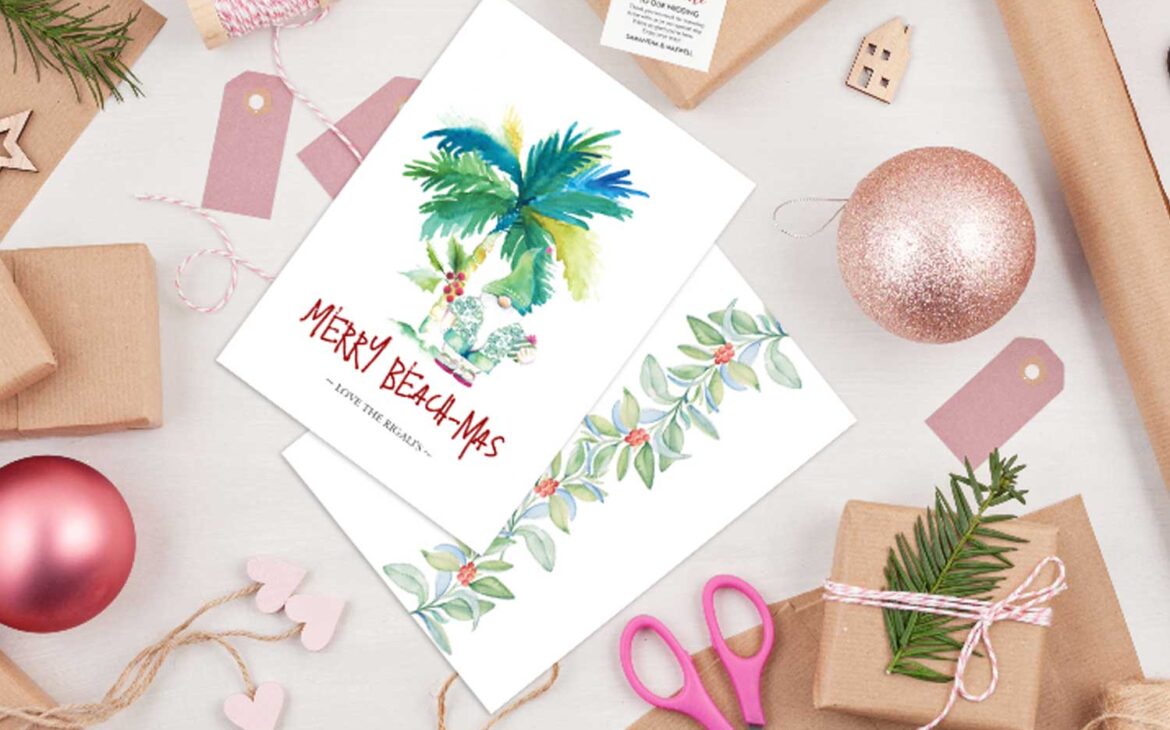
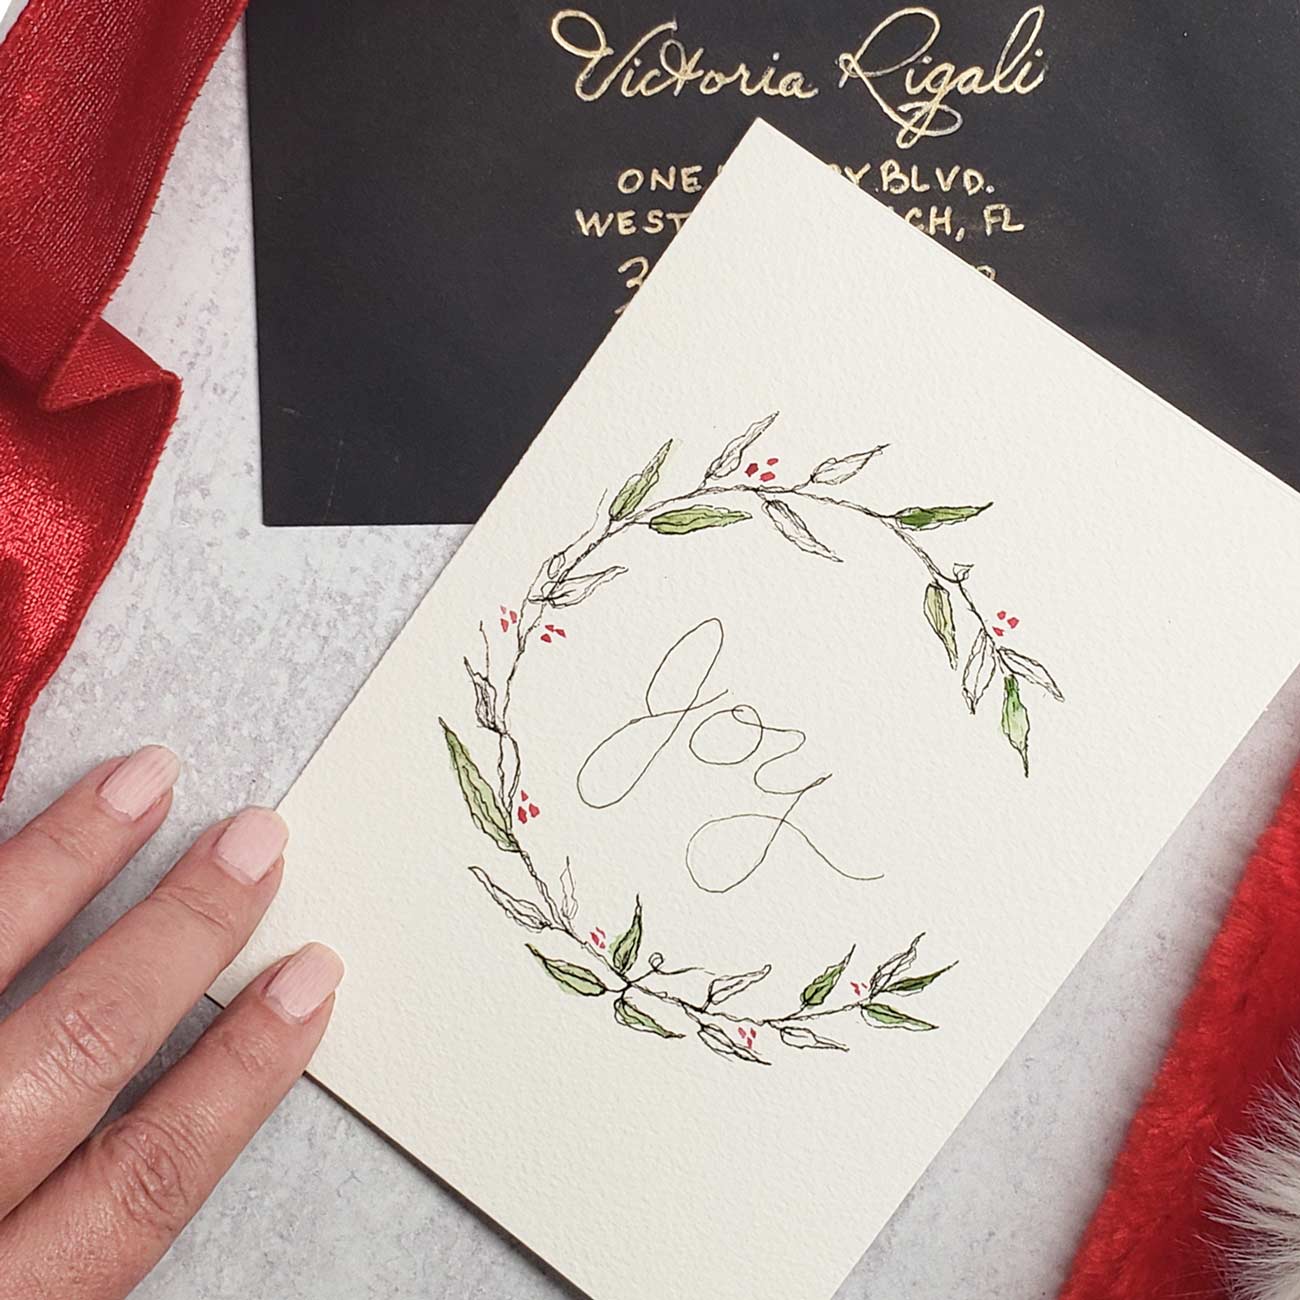
Creating your own Christmas cards is a wonderful way to add a personal touch to your holiday greetings. This year, you can take this tradition a step further by incorporating unique watercolor art into your cards. Victoria Grigaliunas of Do Tell A Belle offers a delightful collection of printable beach-themed Christmas cards that are perfect for this DIY project. Here’s how to create your own DIY Christmas Cards using these beautiful designs.
Step 1: Choose Your Design
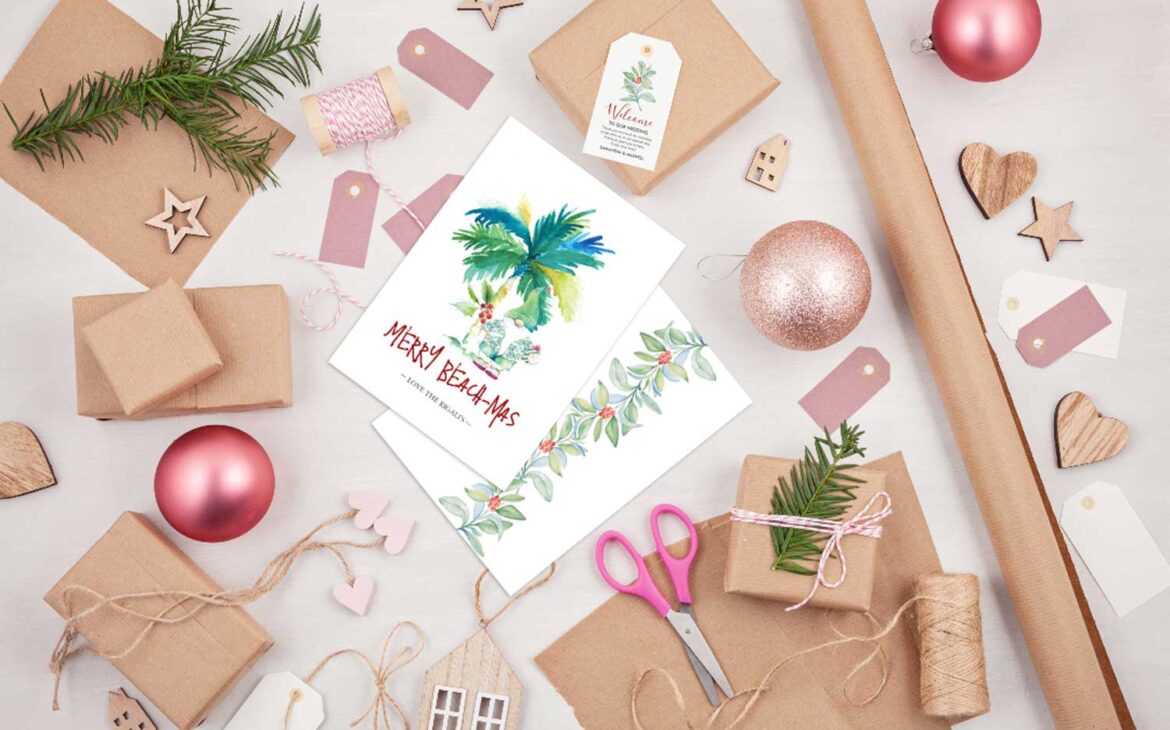
Visit Do Tell A Belle on the Zazzle marketplace and explore the range of beach-themed Christmas cards designed by Victoria Grigaliunas. Look for designs that resonate with your personal style and the message you want to convey. These watercolor cards feature charming beach scenes, often blending traditional Christmas elements with a coastal twist. Explore our full range of charming printable Christmas cards by clicking on the image above – your perfect holiday greeting awaits! Plus, you can also order these cards printed, ready for your personal touch.*
Step 2: Download and Print
Once you’ve selected your favorite designs, download the printable Christmas cards. Use high-quality paper for printing to ensure the best reproduction of the watercolor art. You can choose between textured paper to mimic the feel of original watercolor paintings, or opt for smooth, heavy cardstock for a sleek finish.
Step 3: Personalize Your Cards
After printing, personalize each card with your own message. You can handwrite your greetings for a more intimate touch or use a printed message for a uniform look. This is where you can let your creativity shine – consider using colorful pens, or even adding small embellishments like glitter or stickers.
Step 4: Pair with Envelopes
Select envelopes that complement your cards. You might choose envelopes in traditional holiday colors, or go for something that matches the beach theme, like sandy turquoise green, pink or ocean blue. Ensure the envelopes are the right size for your cards.
Step 5: Address and Decorate
Now, let’s add a special touch to addressing your envelopes. If you love the look of calligraphy but aren’t skilled in it, I have a wonderful solution for you. Watch my video tutorial where I share an innovative hack for hand lettering envelopes. This technique is simple, yet effective, and will help you achieve that elegant calligraphy look effortlessly. Decorate your envelopes with this new skill, and perhaps add some stickers or drawings for an extra festive touch.
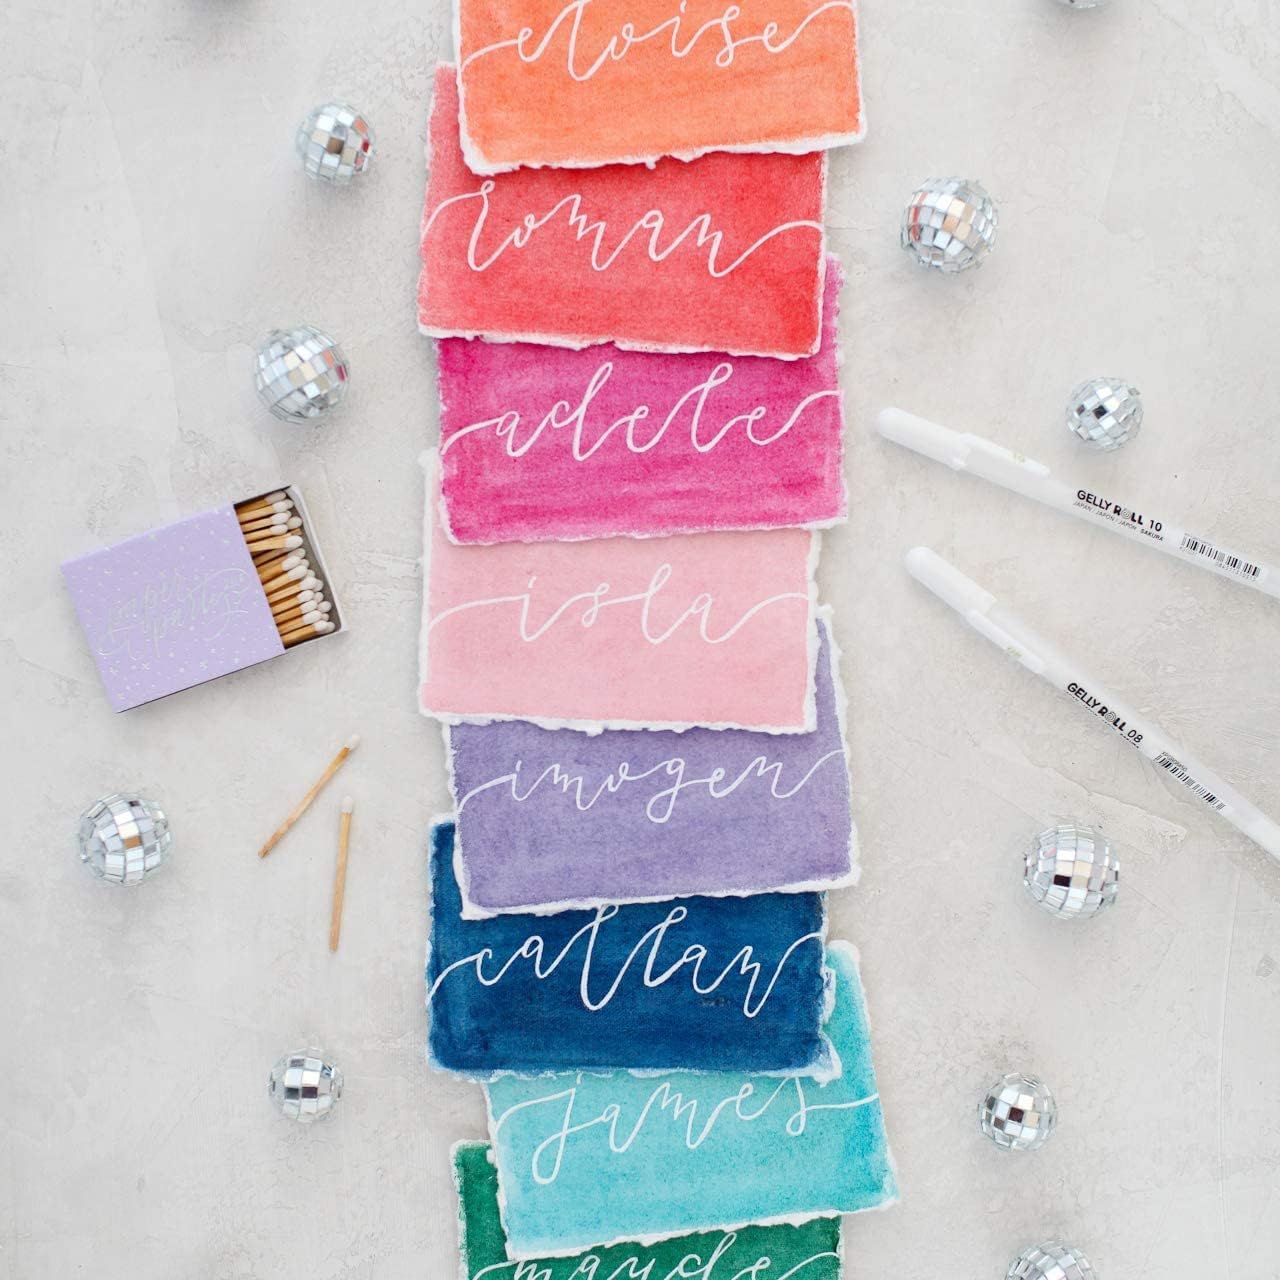
Step 6: Send Your Greetings
Finally, send out your DIY Christmas cards to family and friends. These unique cards, featuring the charming beach-themed watercolor art by Victoria Grigaliunas, are sure to stand out and bring joy to the recipients.
Tips for a Successful DIY Christmas Card Project
- Plan Ahead: Start early to ensure you have enough time for printing, personalizing, and mailing.
- Get Creative: Don’t hesitate to add your own creative elements to the cards.
- Make it a Family Activity: Involve your family in the card-making process for a fun holiday activity.
By following these steps, you can create beautiful, personalized Christmas cards that are sure to be cherished by their recipients. Not only are these DIY Christmas cards a joy to make, but they also carry the warmth and personal touch that only handmade items can. Happy card making!
* Hello Wonderful Readers! Just a heads-up: some of the links you find here are affiliate links. That means if you click through and make a purchase, I might earn a small commission. Also, many of the fantastic designs I rave about are my own creations, and I earn royalties from them. It’s my way of spreading love and creativity in the world! Your support keeps the creative juices flowing and this blog running. I’m deeply thankful for your trust and for being a part of this creative journey with me! With gratitude and sparkle, Victoria

Immerse yourself in the festive spirit with our curated selection of Christmas articles. Click on the images to dive into more holiday-inspired reads and enhance your Christmas celebrations!

