Hello, craft enthusiasts! Victoria here from Do Tell A Belle. With Christmas 2024 just around the corner, I’m excited to share a fun and easy DIY project: creating your own Christmas cards in just three simple steps. Whether you’re an experienced crafter or just starting out, this project is a wonderful way to add a personal touch to your holiday greetings. Scroll down for the full instructions and a video tutorial!
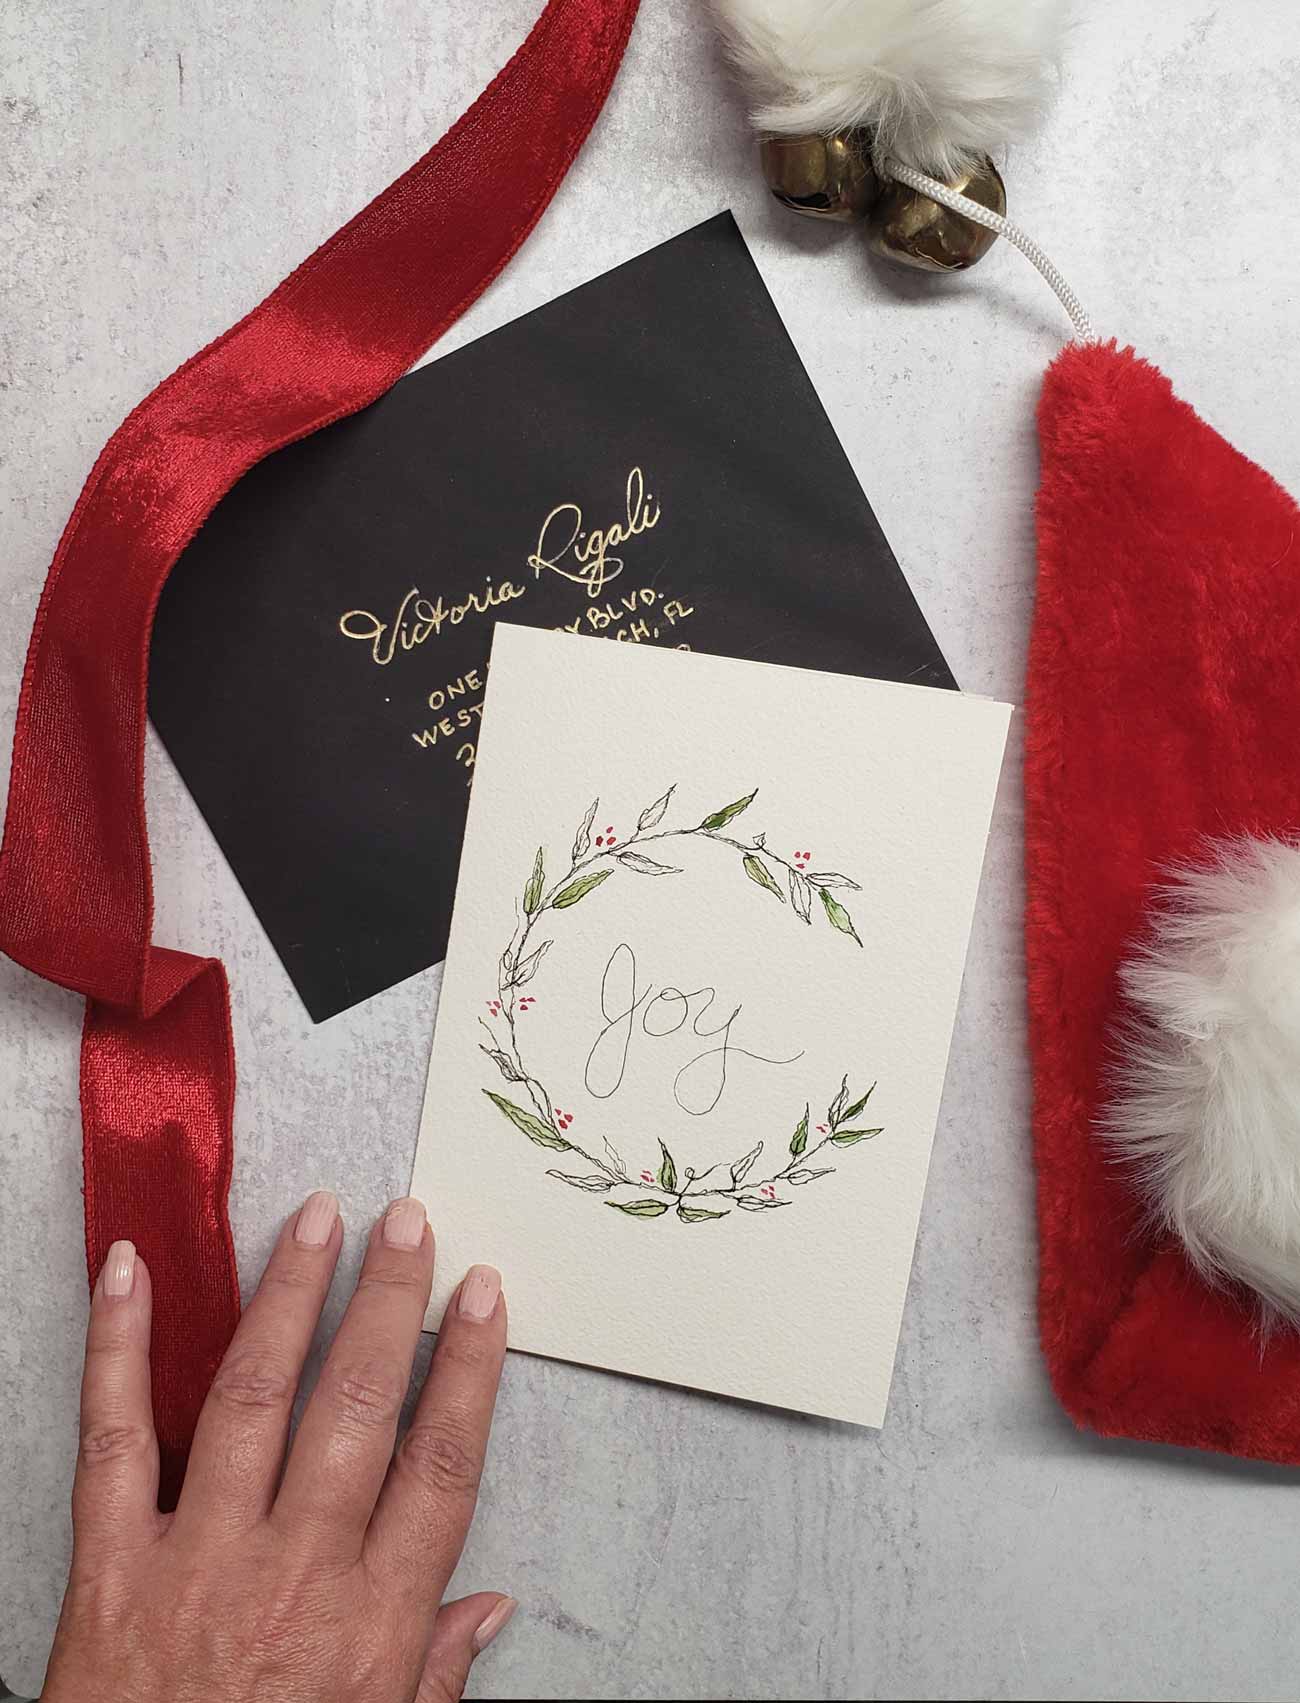
Step 1: Preparing Your Card
Materials Needed:
- 10×7 inch watercolor paper
- Scoring tool
Instructions:
- Begin with a 10×7 inch piece of watercolor paper.
- Score it down the center to create a neat fold.
- Fold it into a 5×7 blank card.
Tip: This size is perfect for mailing and gives you ample space to showcase your creativity.
Step 2: Drawing the Design
Materials Needed:
- Size 2 Micron pen
- Watercolor paints
- Fountain brush
Instructions:
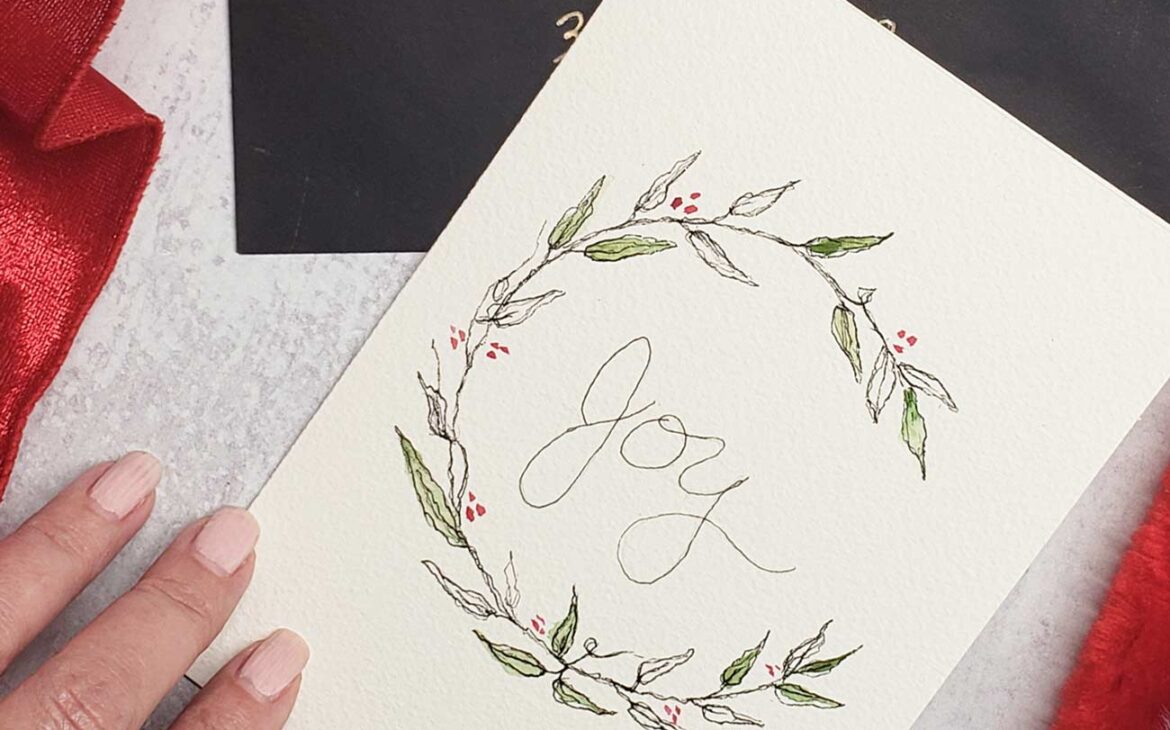
- Using your Micron pen, draw a circle of botanical leaves on the card. If you’re not confident in your drawing skills, practice on scrap paper first.
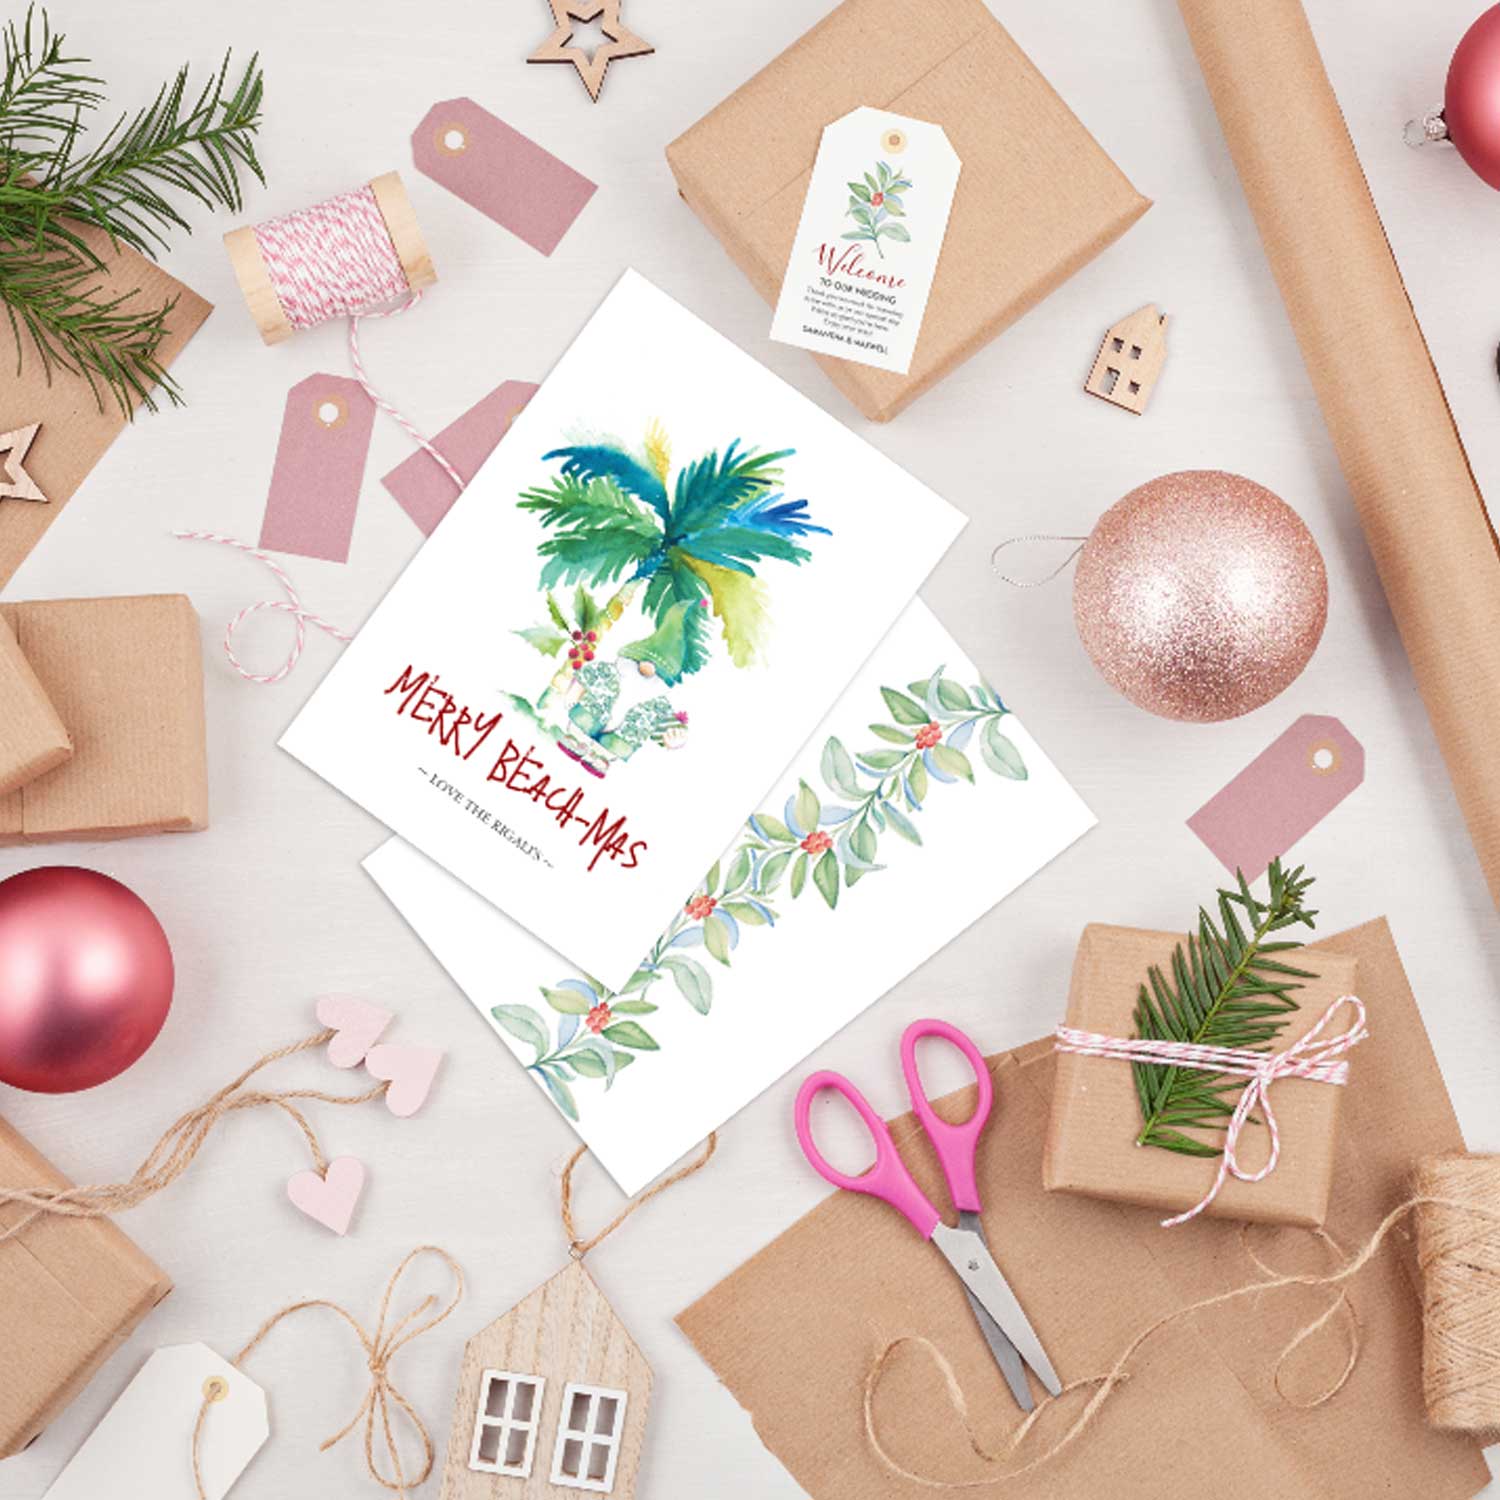
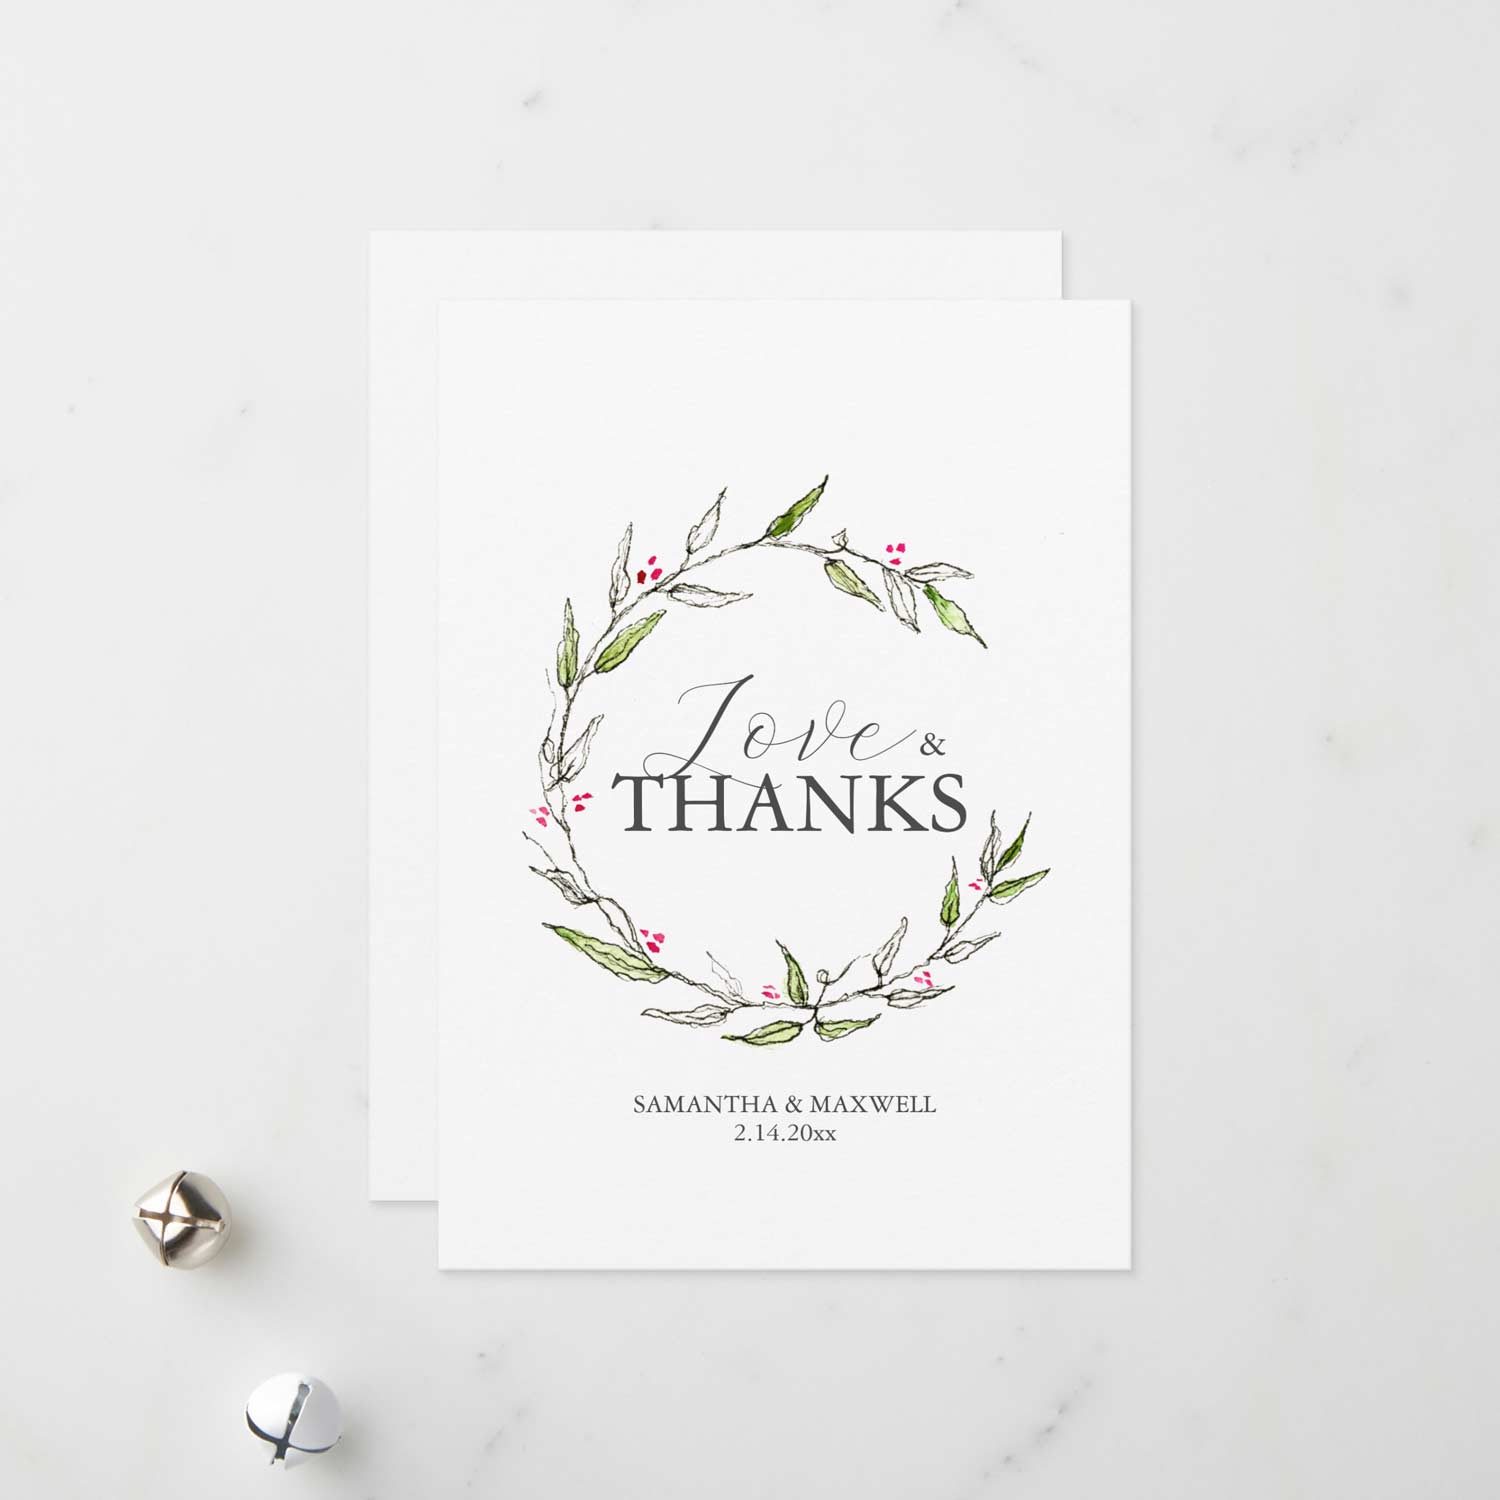
- Optionally, you can download my pre-designed art from the link below and print it onto card stock. Just tap on the image to learn more.
- Color some leaves with green watercolor paint, using any shade you like.
- Add red berries to your design for a festive look.
Tip: Leaving a small gap in your circle of leaves adds an artistic touch, but feel free to close it off if you prefer.
Step 3: Adding a Personal Touch with Hand Lettering
Materials Needed:
- Pencil
- Micron pen
- Eraser
Instructions:
- Write your festive message, like ‘Joy’, in pencil on your card.
- Practice the lettering on scrap paper to perfect your design.
- Trace over the pencil with your micron pen.
- Erase any visible pencil marks carefully.
Tip: Hand lettering adds a personal and elegant touch to your card. Don’t rush it; enjoy the process!
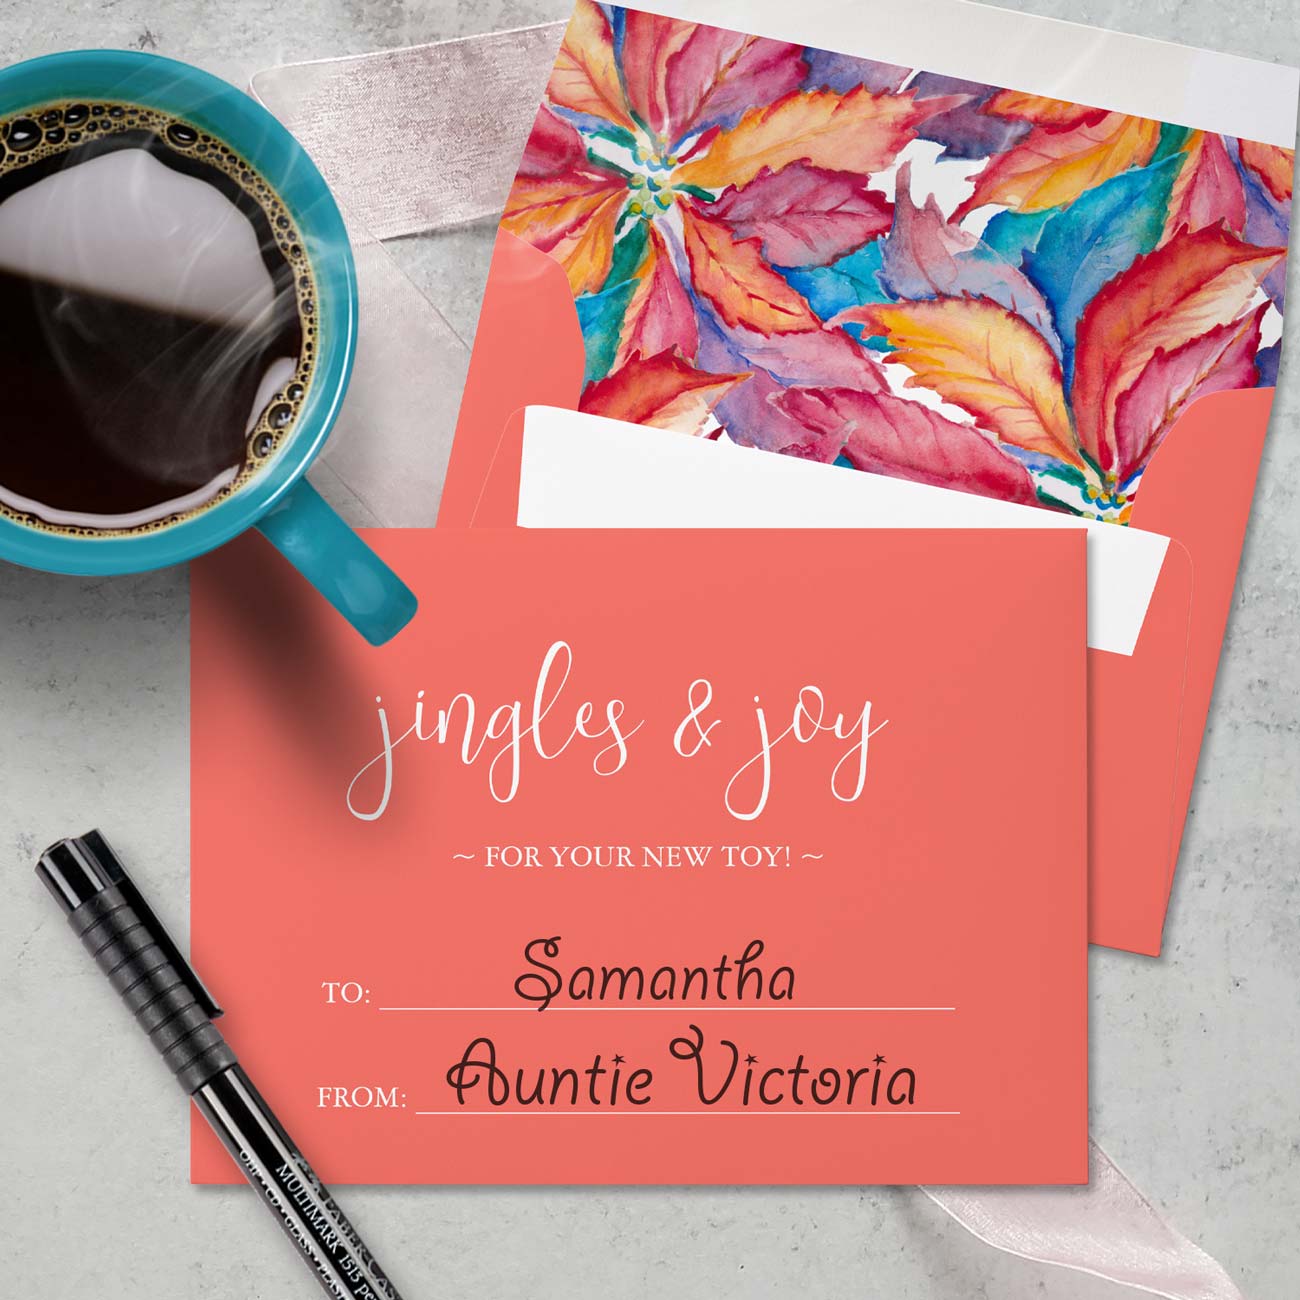
And there you have it – your very own, beautifully handcrafted Christmas card! Pair it with a black envelope and address it using a gold gel pen for an extra elegant touch. If you’re curious about addressing dark envelopes easily, watch my hack!
I hope you enjoyed this tutorial as much as I enjoyed creating it. Don’t forget to share your creations with me on Instagram @dotellabelle. Happy crafting and a Merry Christmas!
You may also enjoy these articles. Click on the images below to read more:
For more Merry Christmas wishes and holiday quotes, follow us on Pinterest! We’ll be posting festive images and messages every day until December ends.
* Hello Wonderful Readers! Just a heads-up: many of the fantastic designs I rave about are my own creations, and I earn royalties from them. It’s my way of spreading love and creativity in the world! Your support keeps the creative juices flowing and this blog running. I’m deeply thankful for your trust and for being a part of this creative journey with me! With gratitude and sparkle, Victoria
