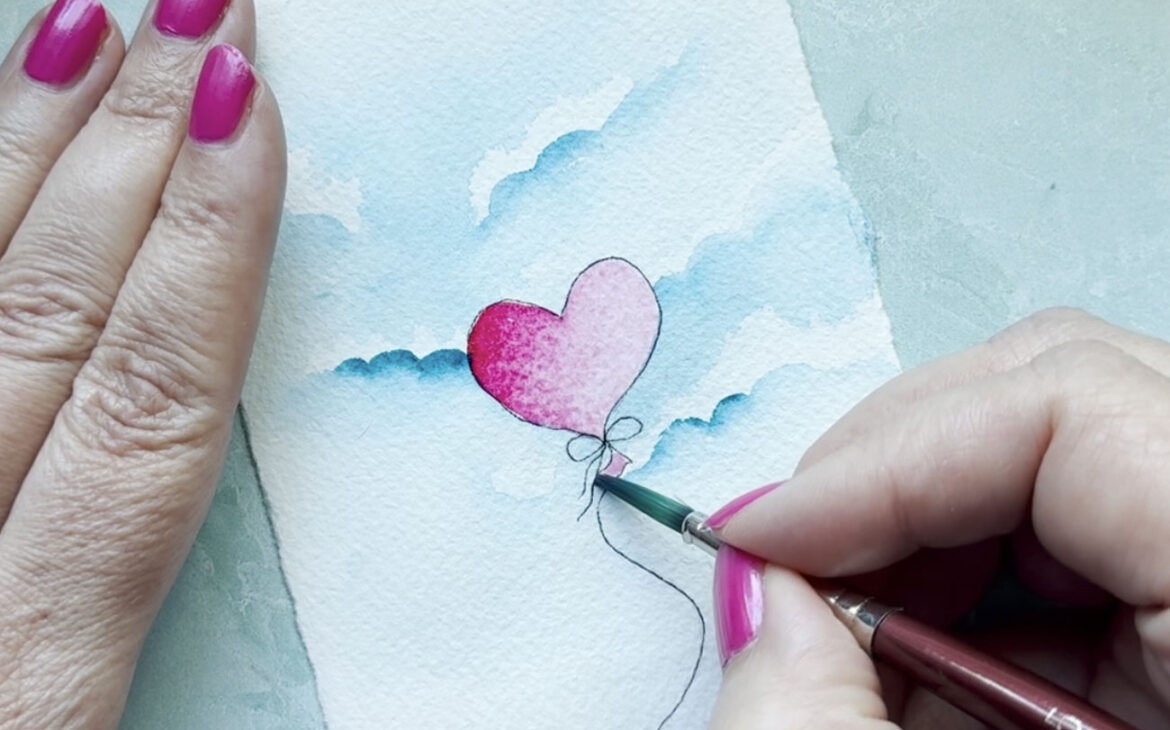
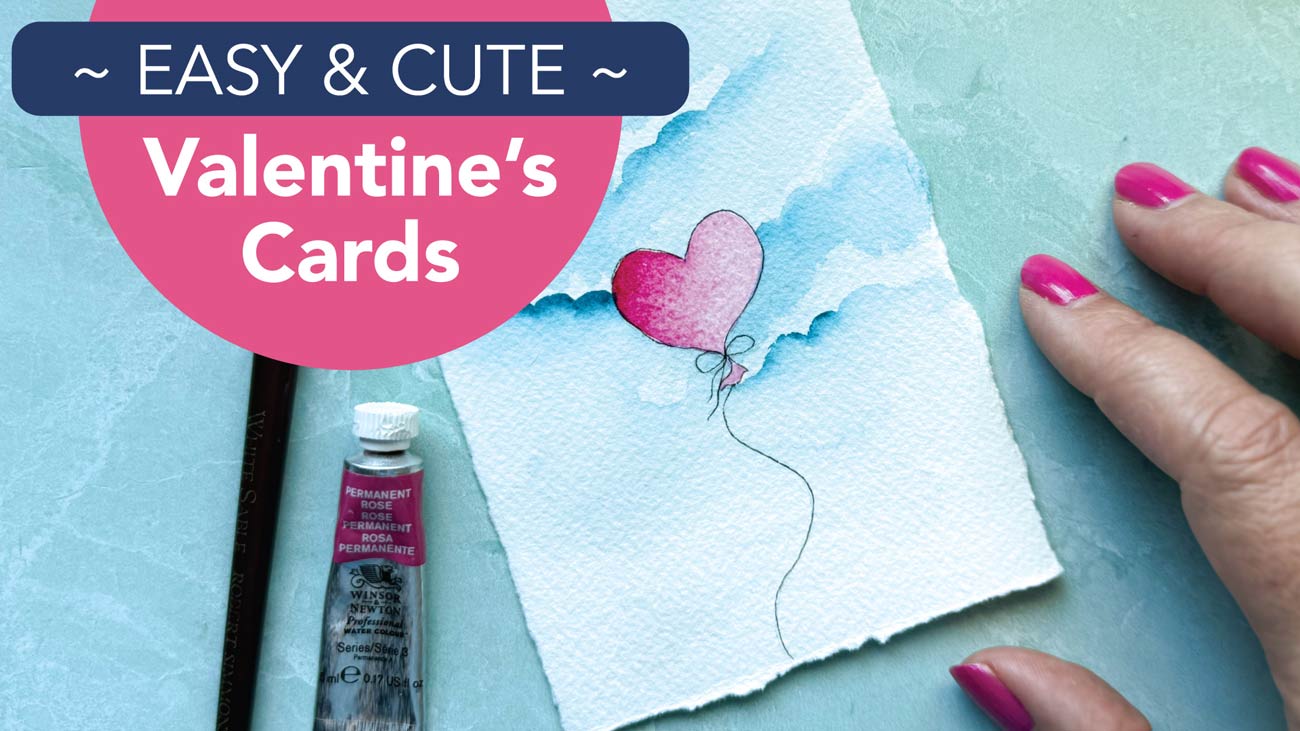
Valentine’s Day is the perfect opportunity to embrace your creativity and show your loved ones how much they mean to you. This year, surprise them with a unique handmade Valentines Day card that’s as special as your bond. In this step-by-step guide, I’ll teach you how to create a beautiful Valentine’s Day card featuring a heart-shaped balloon floating against a dreamy watercolor sky. Whether you’re a painting pro or just starting out, this simple and fun project is perfect for celebrating the season of love!
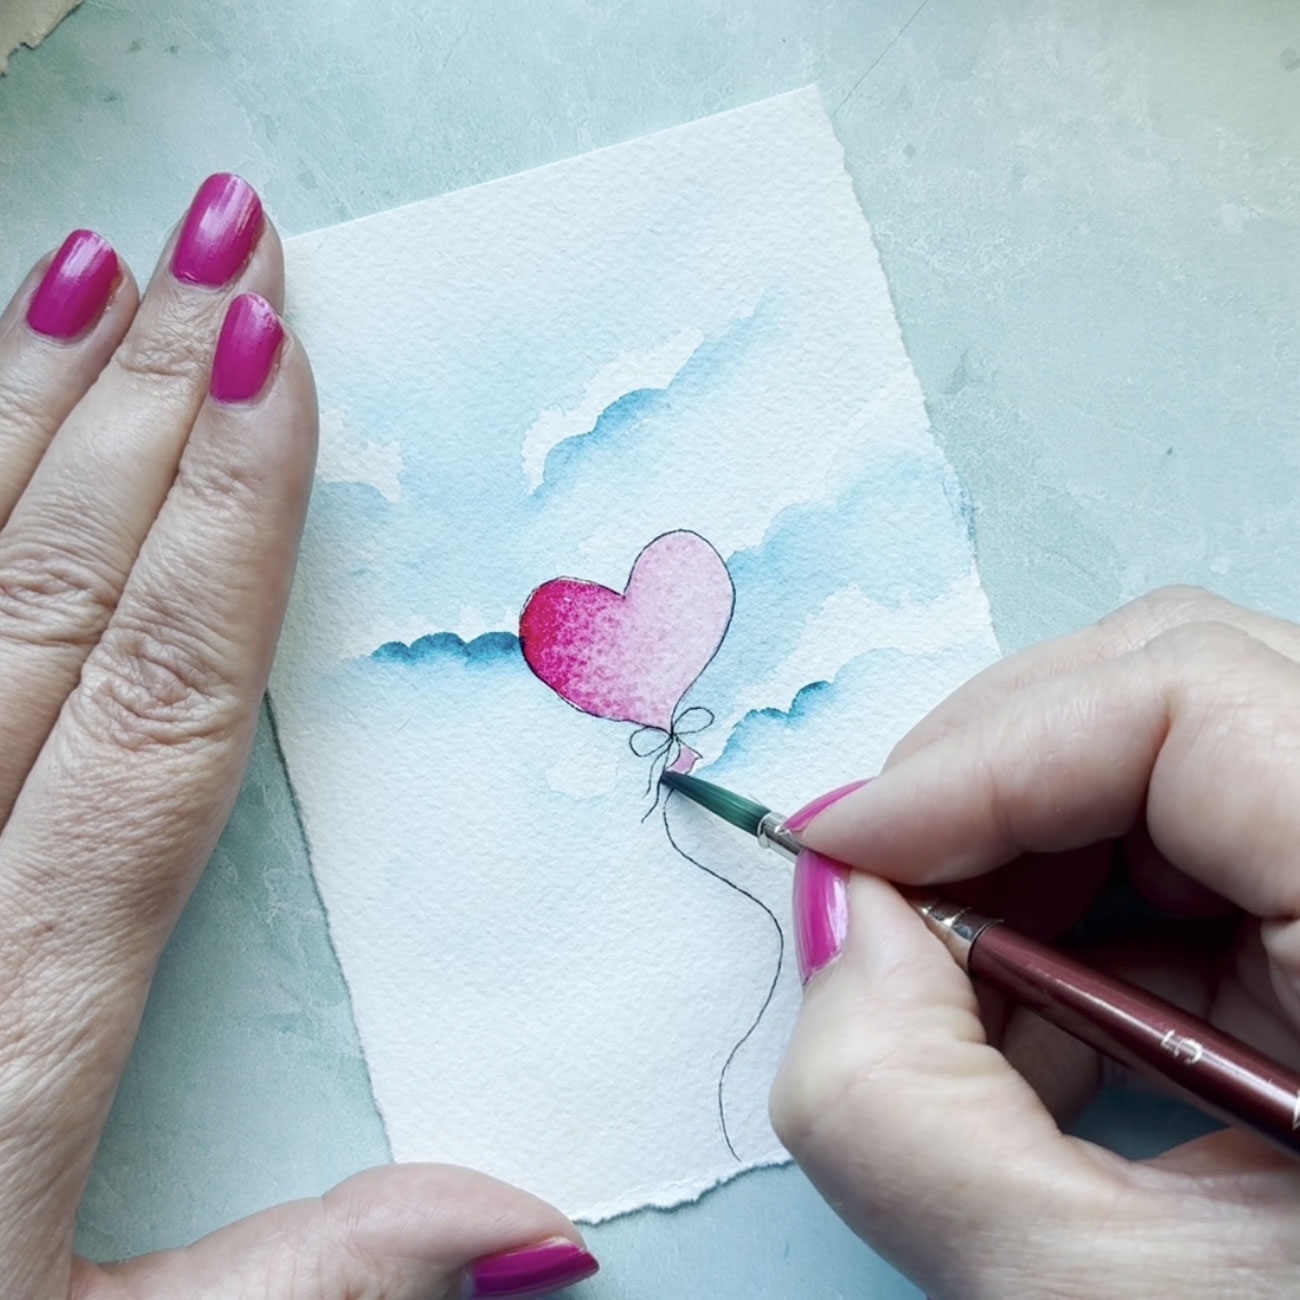
Materials You’ll Need
Here’s what you’ll need to get started. You can click on the items to shop for them.
- Deckled-edge cards or watercolor paper
- Graphite pencil for sketching
- Micron Pen for outlining
- Masking fluid
- Watercolor paints: turquoise blue and permanent rose
- Paintbrushes
- Clean water and a paper towel
Step 1: Sketch the Design
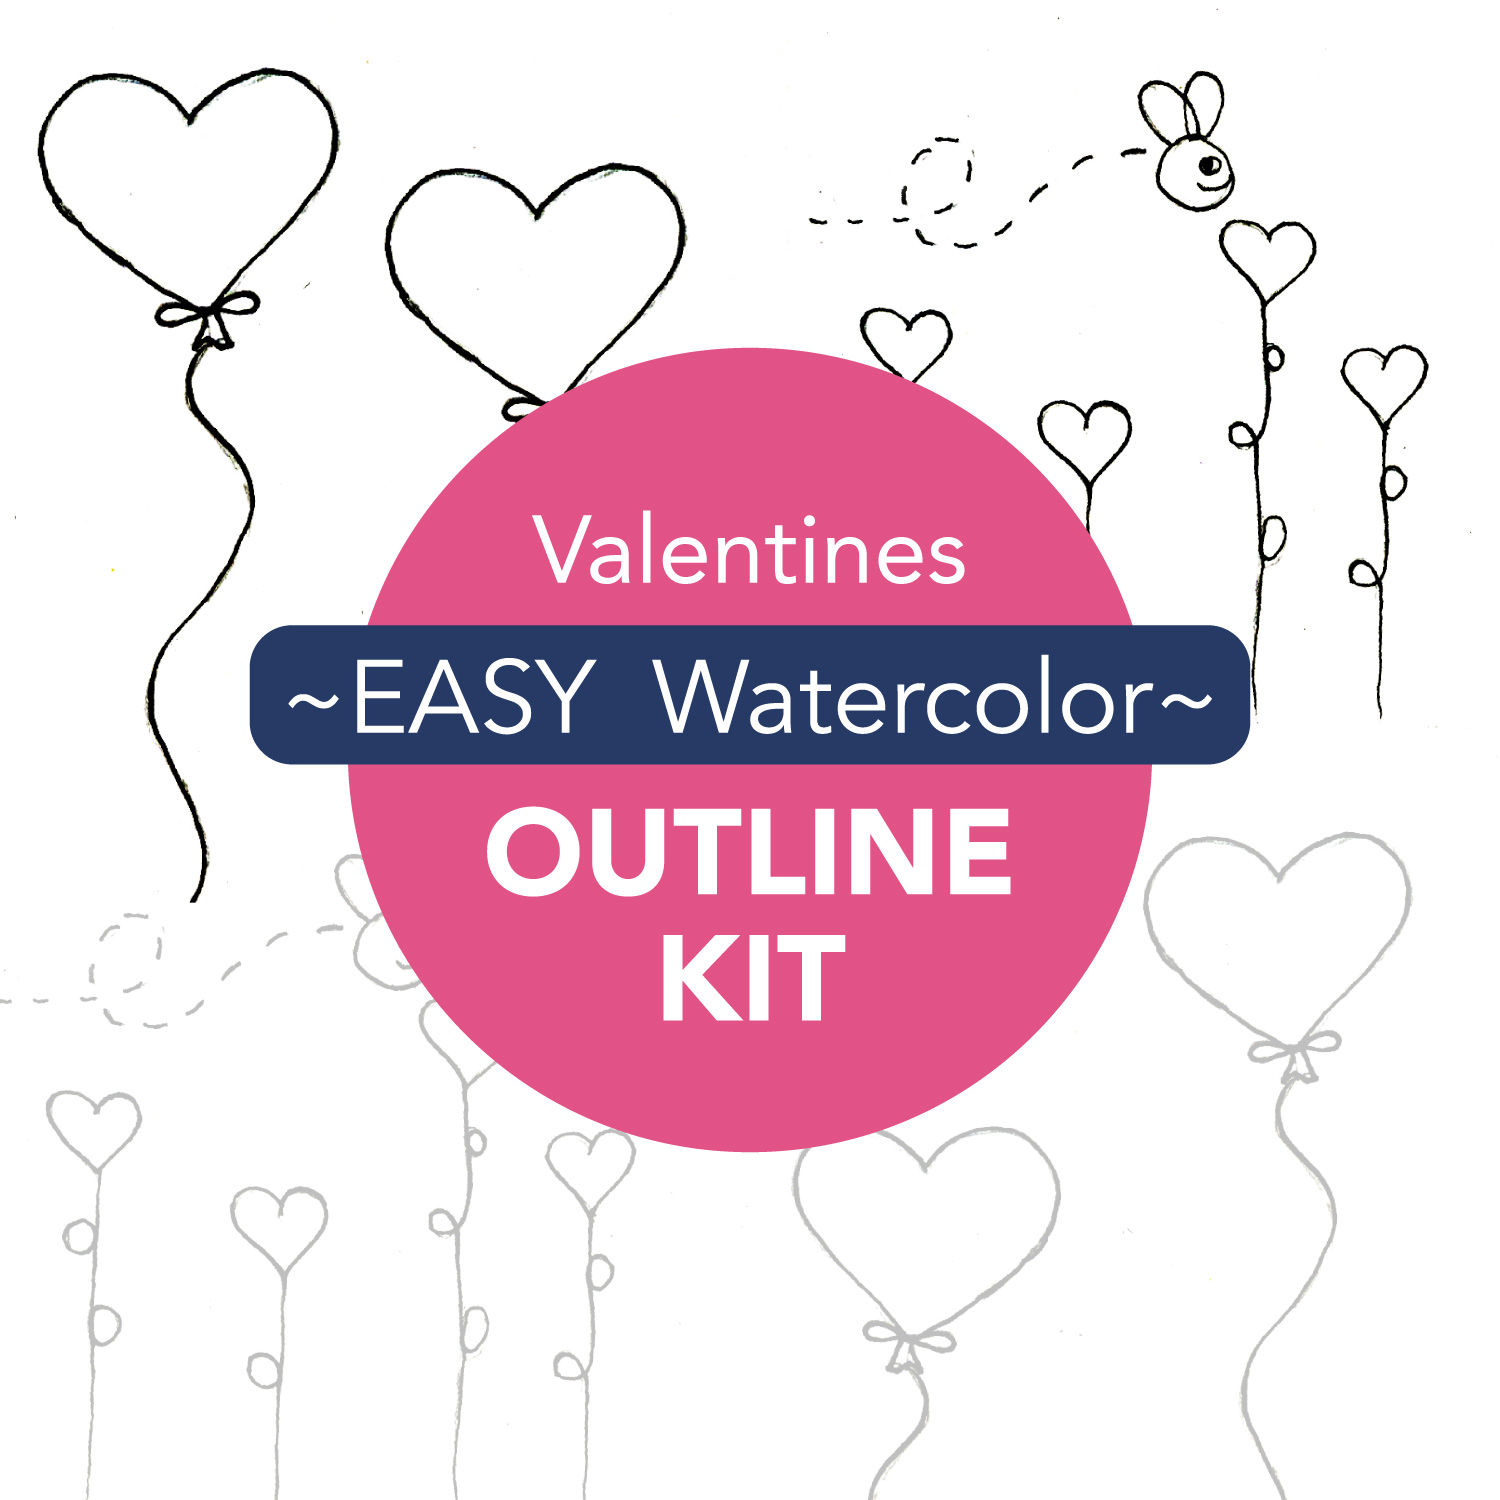
Start by lightly sketching the heart-shaped balloon and string onto your card using a graphite pencil. If you’d prefer to skip this step, don’t worry—I’ve created a downloadable outline kits to make things even easier!
Step 2: Outline with a Micron Pen
Once your sketch is complete, carefully trace over the lines with a Micron Pen. This pen creates crisp, waterproof lines that won’t smudge when you start painting.
Step 3: Apply Masking Fluid
Mask the heart balloon with masking fluid. This step ensures the paint for the sky doesn’t affect the heart, keeping it clean and vibrant. Allow the masking fluid to dry completely before moving on.
Step 4: Paint the Sky and Clouds
Now for the fun part—painting the sky!
- Use a wet-on-wet technique by brushing clean water over the sky area.
- Apply turquoise blue watercolor paint over the wet surface.
- To create clouds, use a clean, dry paper towel to lift some of the paint, leaving behind soft, cloud-like shapes.
- Add light layers of turquoise blue to blend around the clouds for a dreamy effect.
Step 5: Paint the Heart Balloon
Once the sky is dry, remove the masking fluid to reveal the heart. Using a wet-on-dry technique, paint the heart with permanent rose watercolor. This method ensures bold, vibrant color that pairs beautifully with the turquoise sky.
Step 6: Finishing Touches
Let everything dry completely before adding any finishing details. You can glue your watercolor piece onto a card base if you’re using watercolor paper.
Why This Valentines Day Card Stands Out
This card is perfect for Valentine’s Day because it combines heartfelt creativity with simple techniques that anyone can master. The turquoise and rose color palette is vibrant and cheerful, and the deckled edges or watercolor paper give the design a professional touch.
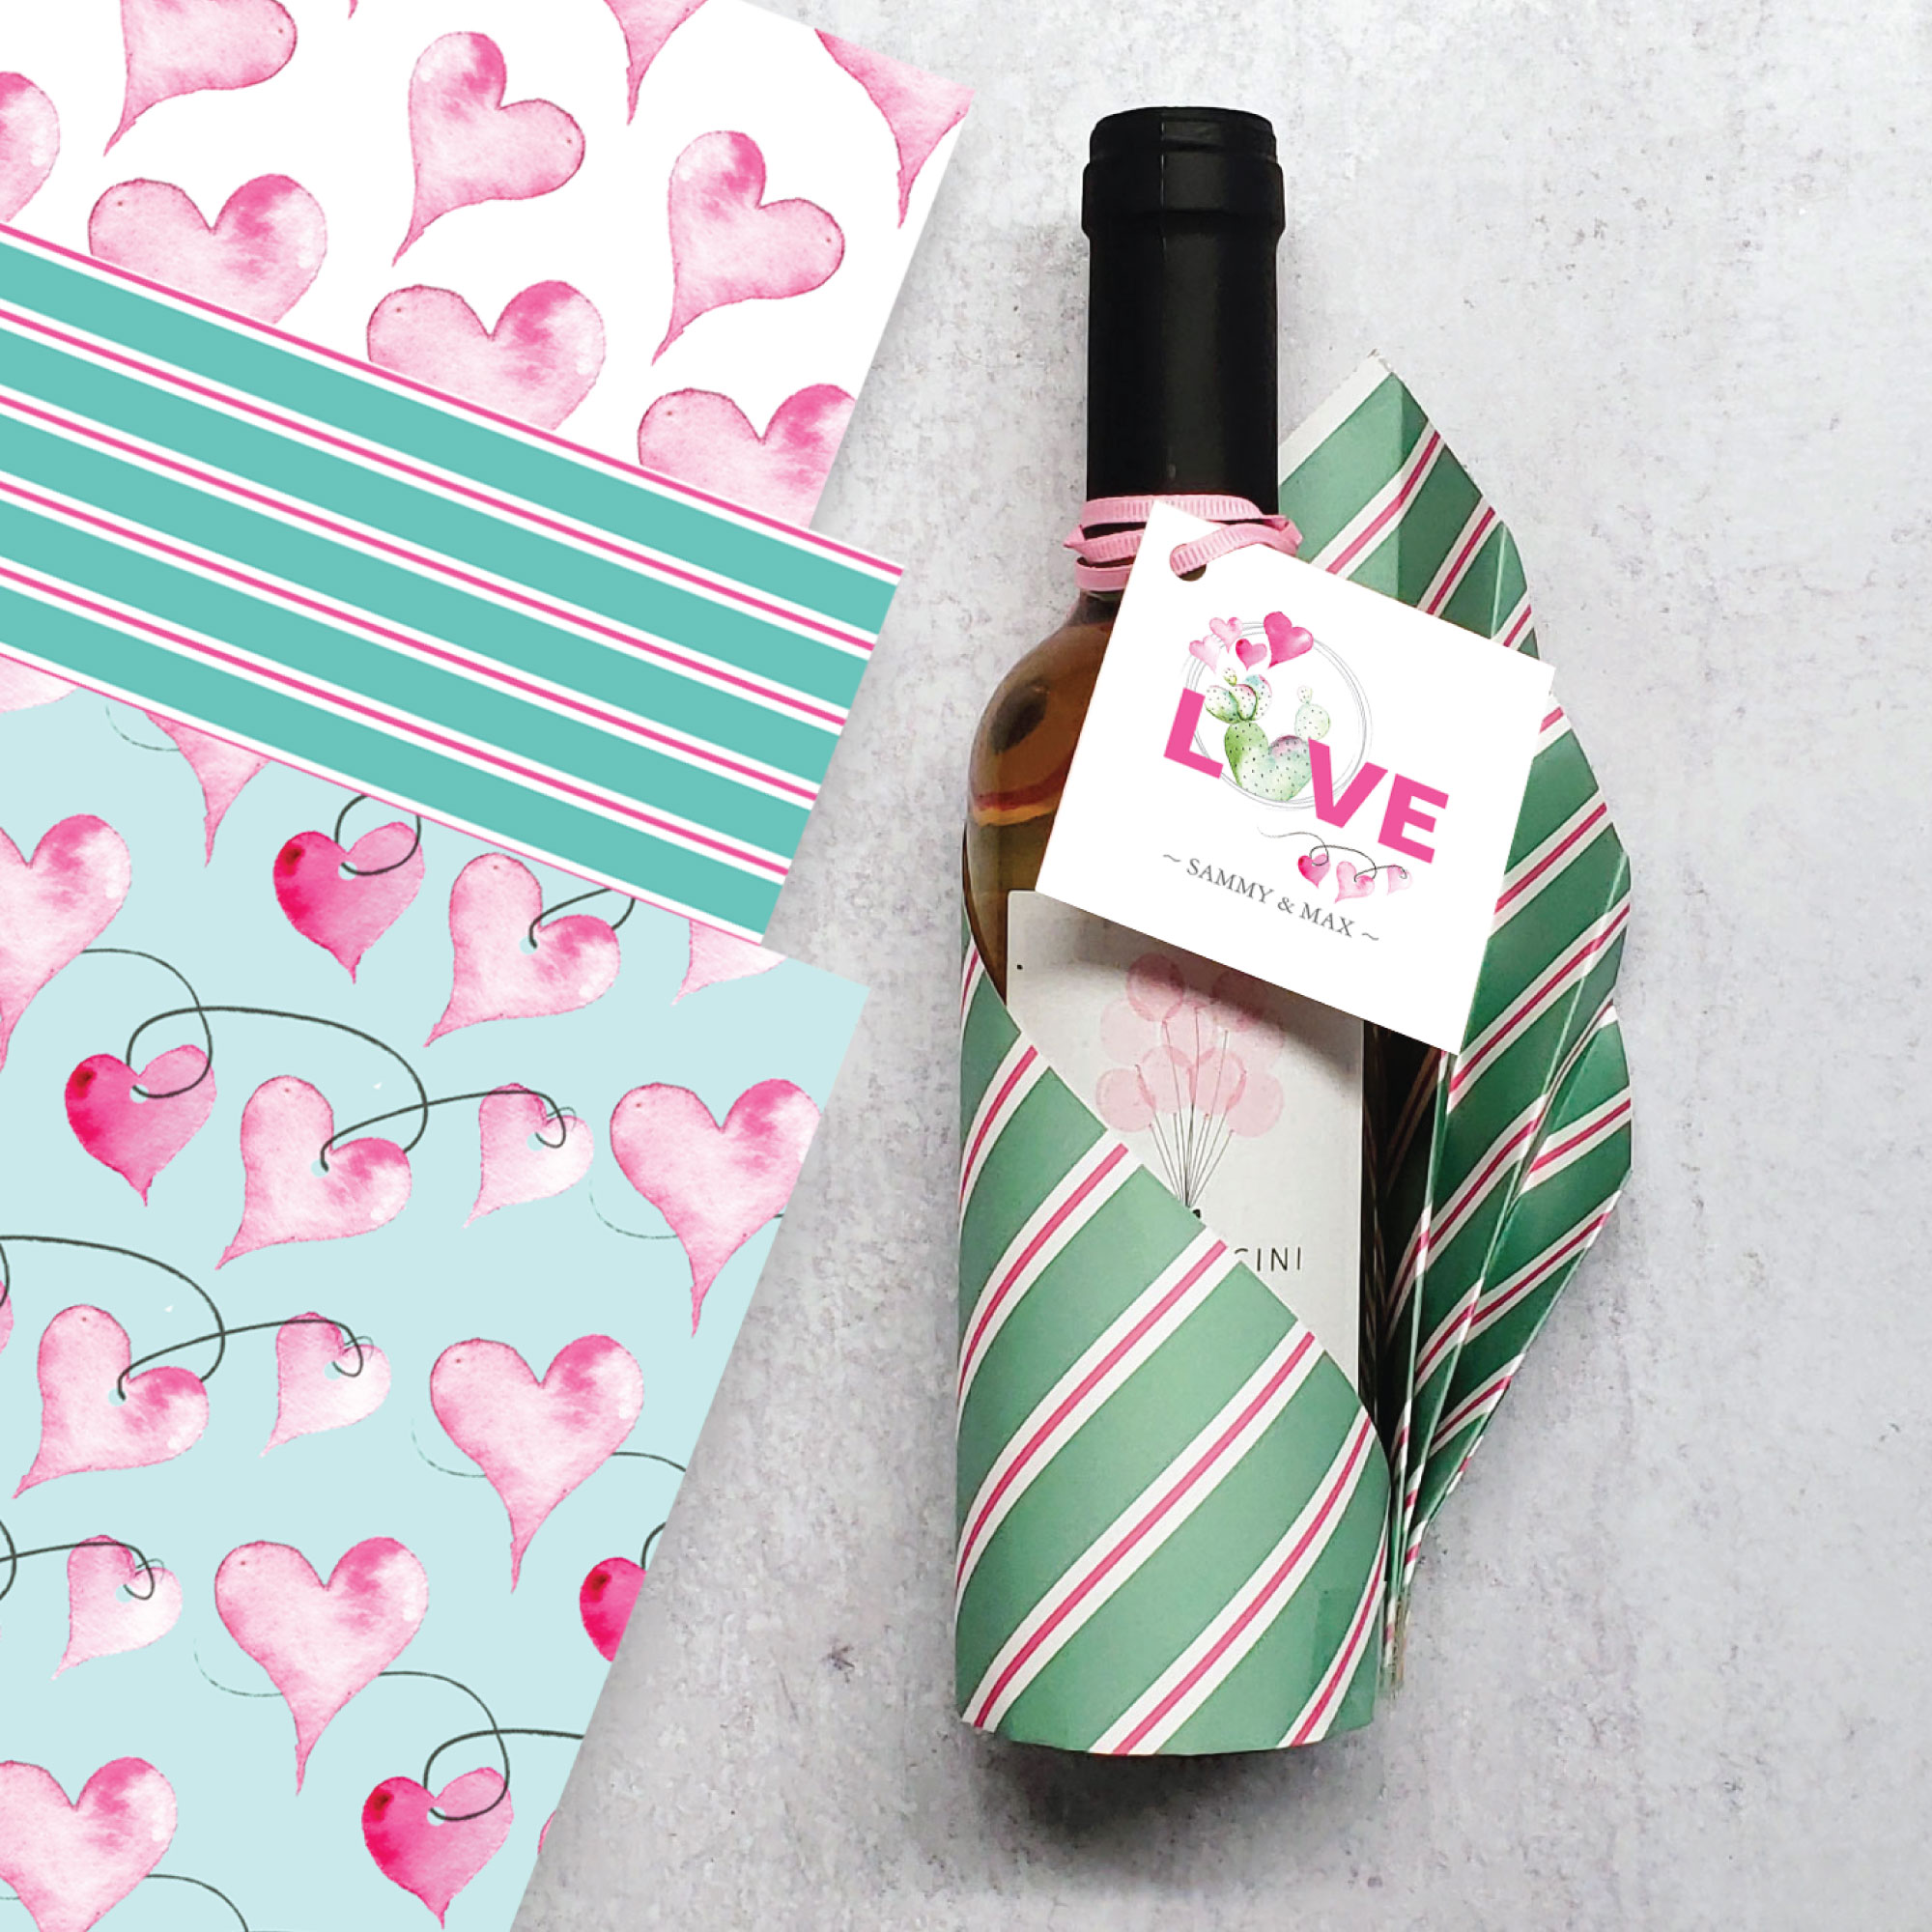
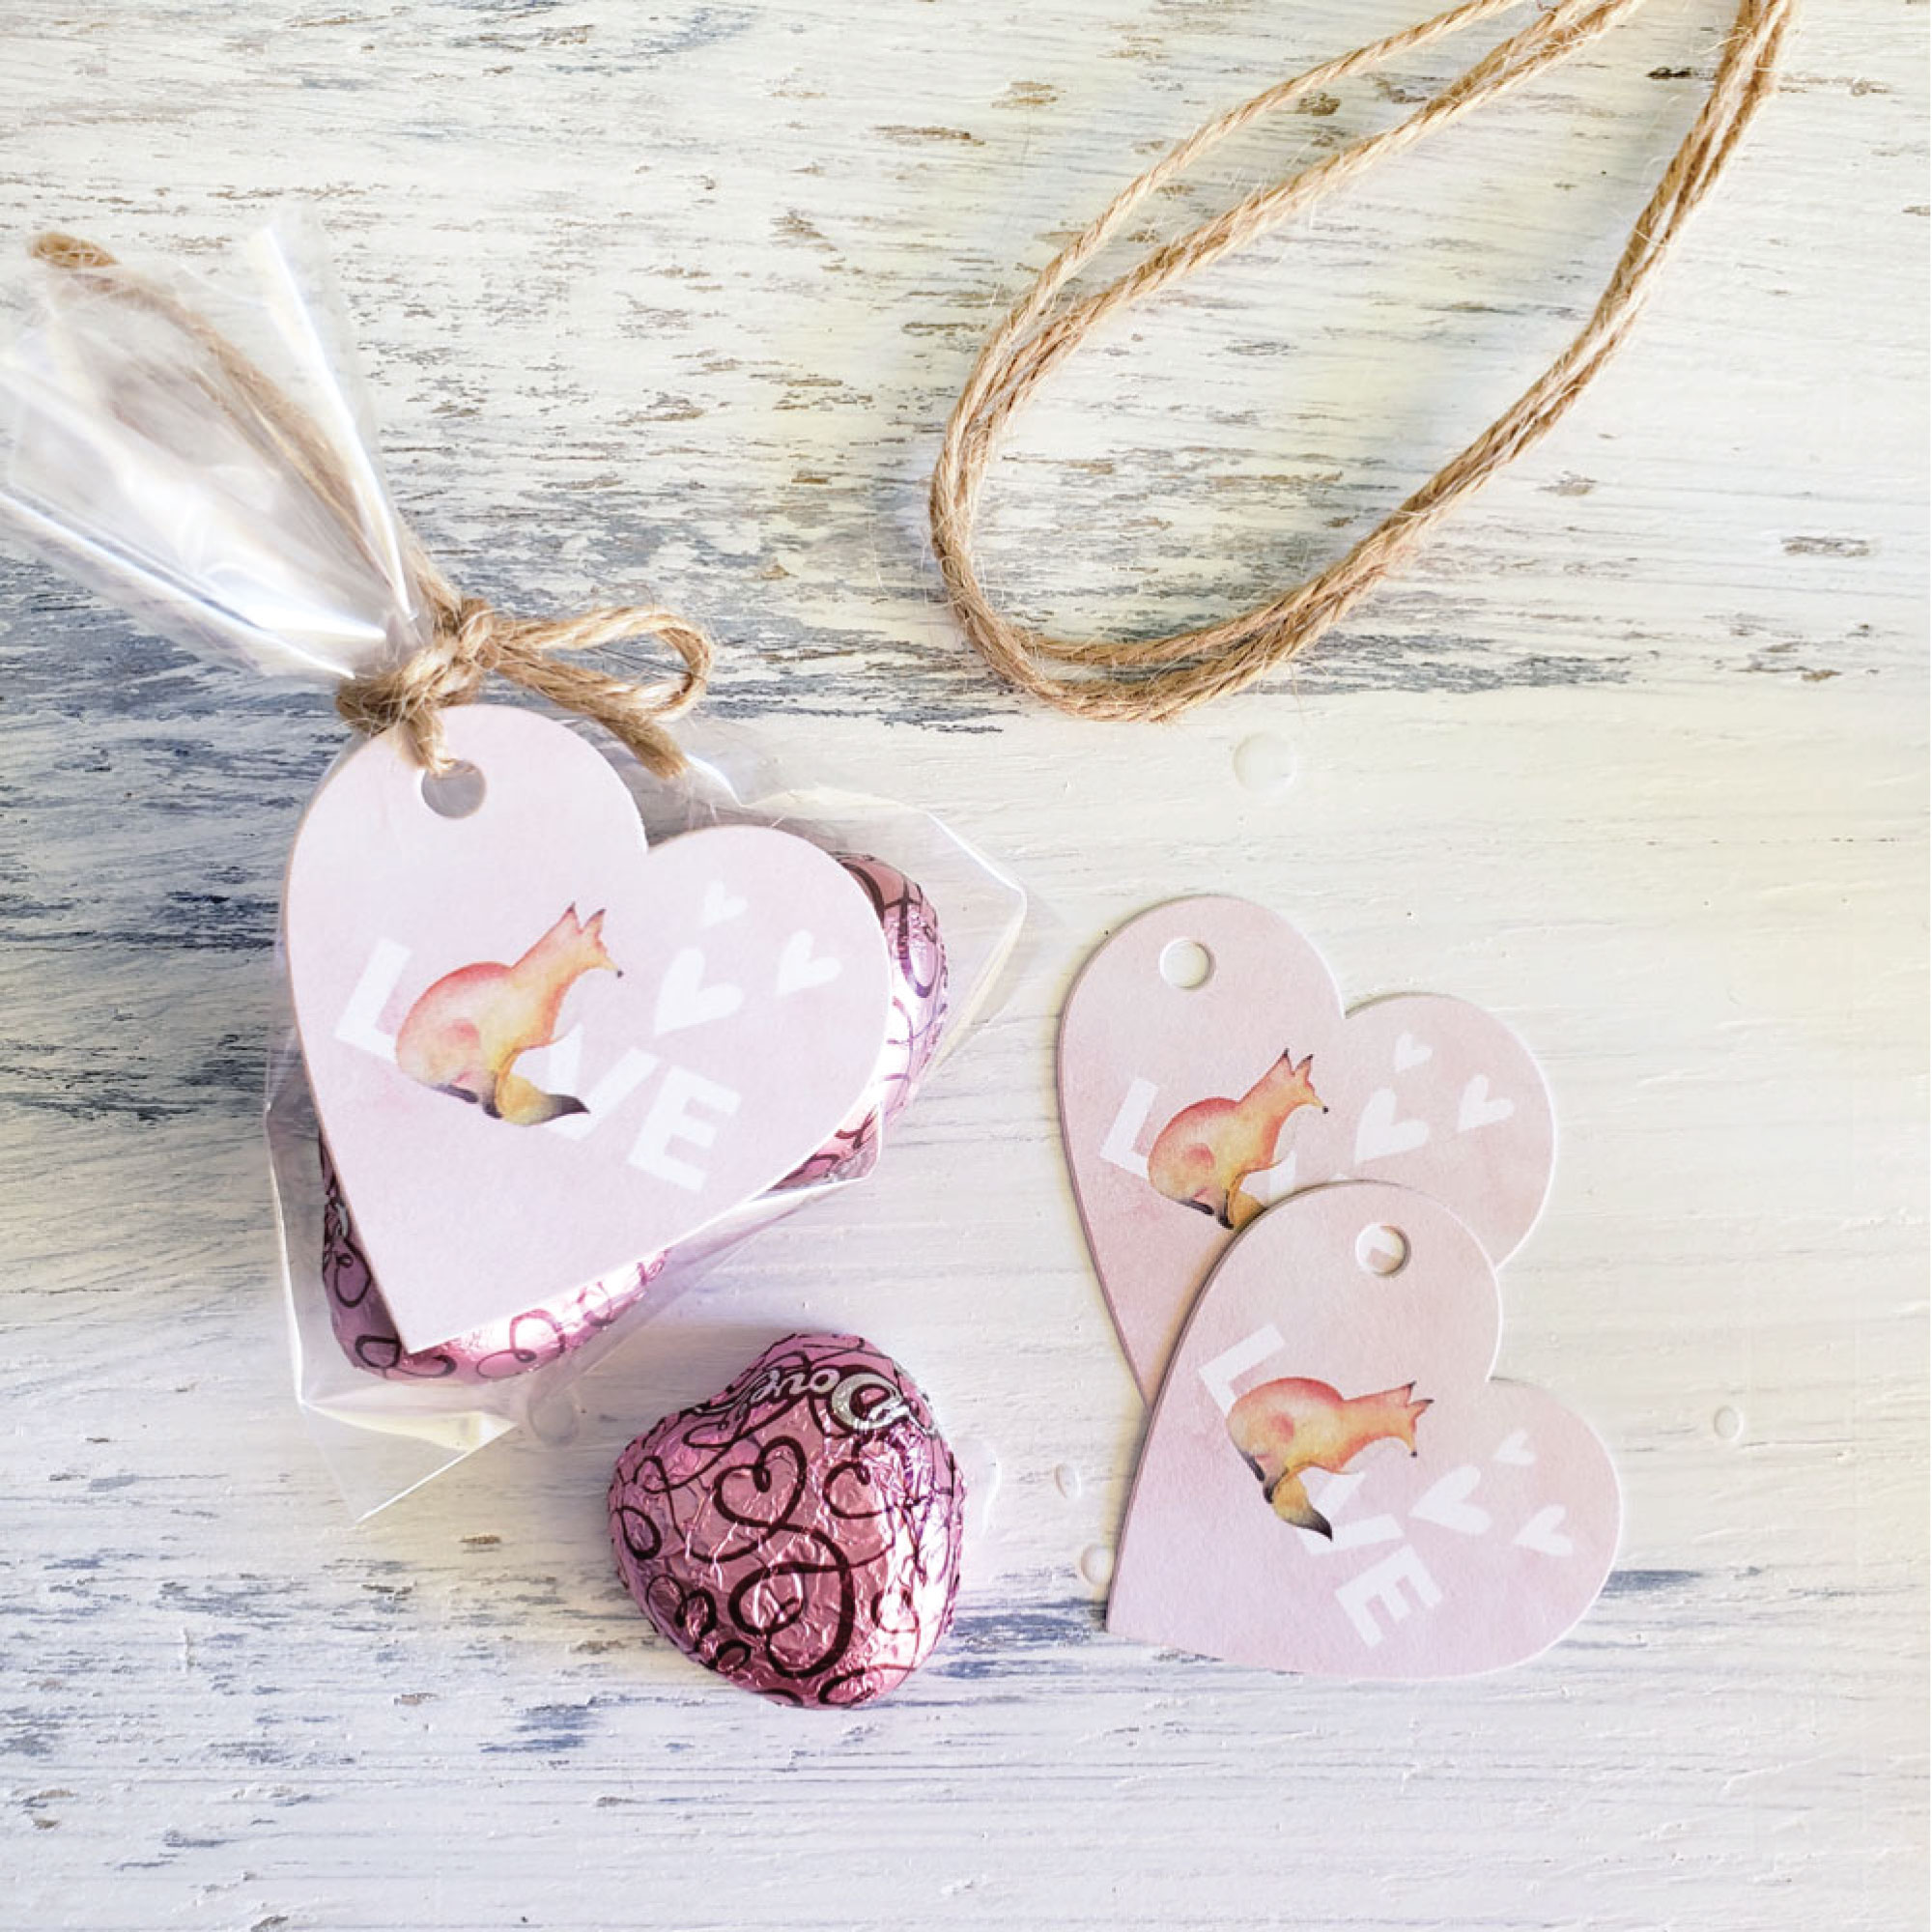
Shop My Valentines Day Card Designs
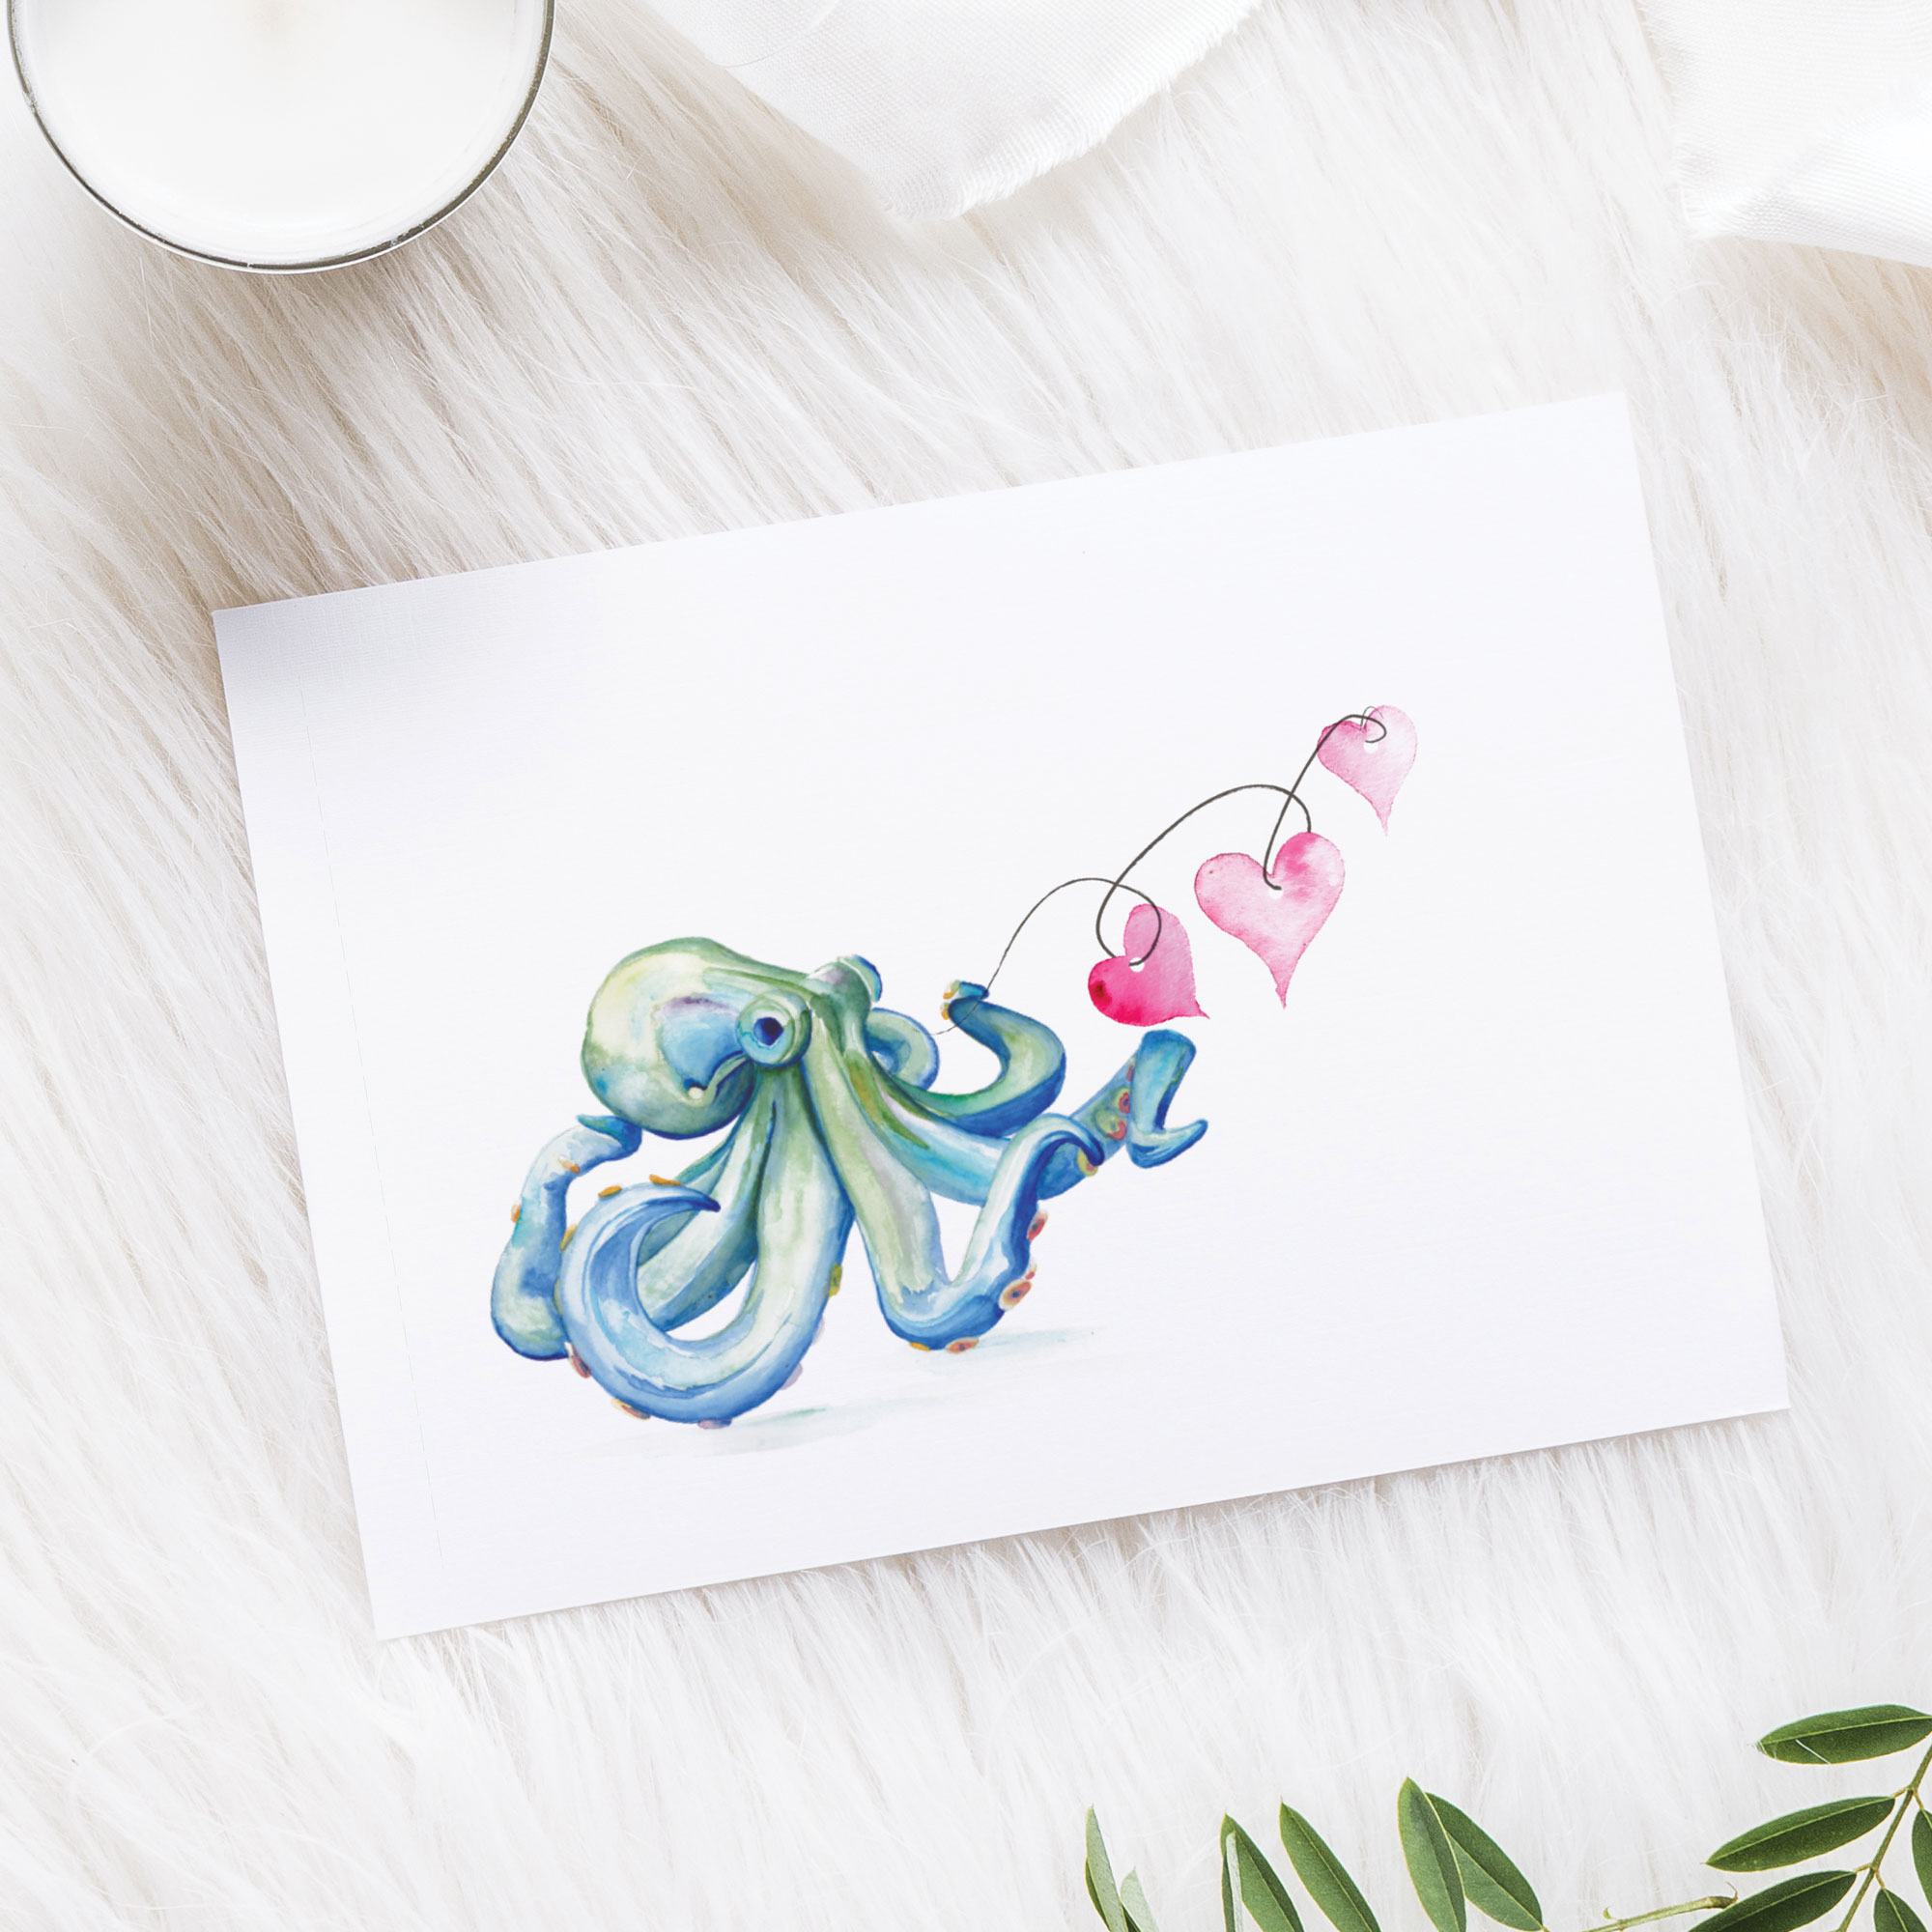
Looking for more Valentine’s Day inspiration? Check out my collection of watercolor Valentine’s cards. By shopping my designs, you’re helping to support my work and allowing me to keep sharing creative projects like this one. Tap on the blue octopus with hearts above to see my collection.
Join the Fun!
I’d love to see your creations! Share your handmade cards on social and tag @dotellabelle and let me know how they turned out in the comments below. Don’t forget to download the balloon outline if you need a little help getting started.
You may also enjoy these articles. Click on the images below to read more.

